Hey, I'm Bob from 12th floor solutions. I'm really excited to show you some of the cool stuff we've been working on in Microsoft Flow. Flow has been around for about a year now and is really starting to gain good traction. Today, we're going to show you how to set up a flow starting in SharePoint. The purpose of this particular flow is to enable users to create vacation requests. Once the request is approved, it will go into a calendar that everyone can see. Let's get started! Before we begin creating the list and the flow, I'll explain what the flow is doing conceptually. First, a user creates a vacation request, which will act as the submission. We'll set up a vacation request list to capture this information. Once the request is made, the flow will kick off and send an approval using the full approval connector. When the assigned user approves the request, it will create an item in the vacation calendar for everyone to see. Additionally, we'll set the original item in the vacation request list to 'approved,' so the original user can see that their request has been approved and can't make any changes. Now, let's start setting up our lists. The first list we'll create is a custom list called 'Vacation Time Request.' Users will input their vacation time requests into this list. It's just a standard custom list. The second list we'll create is the calendar, where all users can view the approved vacation requests. Simply click 'create' to generate the calendar. Next, we'll go back to the 'Vacation Time Request' list and create two custom columns: the start date and the end date of the request. We'll make these fields date and time so that users can select specific times for their vacation. Once the columns...
Award-winning PDF software


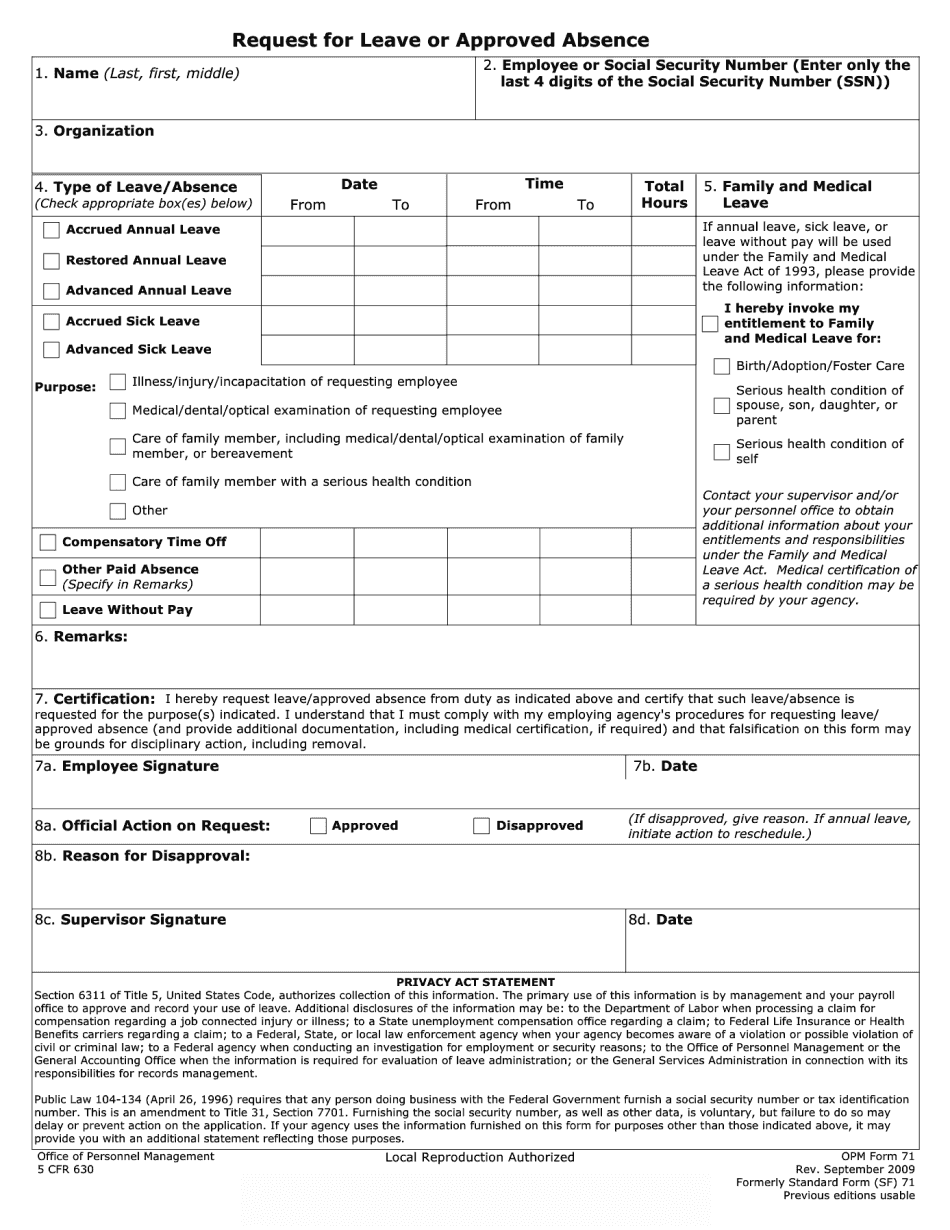
Opm advanced annual leave request Form: What You Should Know
The request must be signed by the employee. The employee should enter the reason for the leave. When approved, leave or annual leave will be granted under the following circumstances: Advance medical appointment or condition. Change of duty assignments due to deployment. Retirees. For reasons other than these, the request must be denied.
online solutions help you to manage your record administration along with raise the efficiency of the workflows. Stick to the fast guide to do Form Opm-71, steer clear of blunders along with furnish it in a timely manner:
How to complete any Form Opm-71 online: - On the site with all the document, click on Begin immediately along with complete for the editor.
- Use your indications to submit established track record areas.
- Add your own info and speak to data.
- Make sure that you enter correct details and numbers throughout suitable areas.
- Very carefully confirm the content of the form as well as grammar along with punctuational.
- Navigate to Support area when you have questions or perhaps handle our assistance team.
- Place an electronic digital unique in your Form Opm-71 by using Sign Device.
- After the form is fully gone, media Completed.
- Deliver the particular prepared document by way of electronic mail or facsimile, art print it out or perhaps reduce the gadget.
PDF editor permits you to help make changes to your Form Opm-71 from the internet connected gadget, personalize it based on your requirements, indicator this in electronic format and also disperse differently.
Video instructions and help with filling out and completing Opm advanced annual Leave Request Form